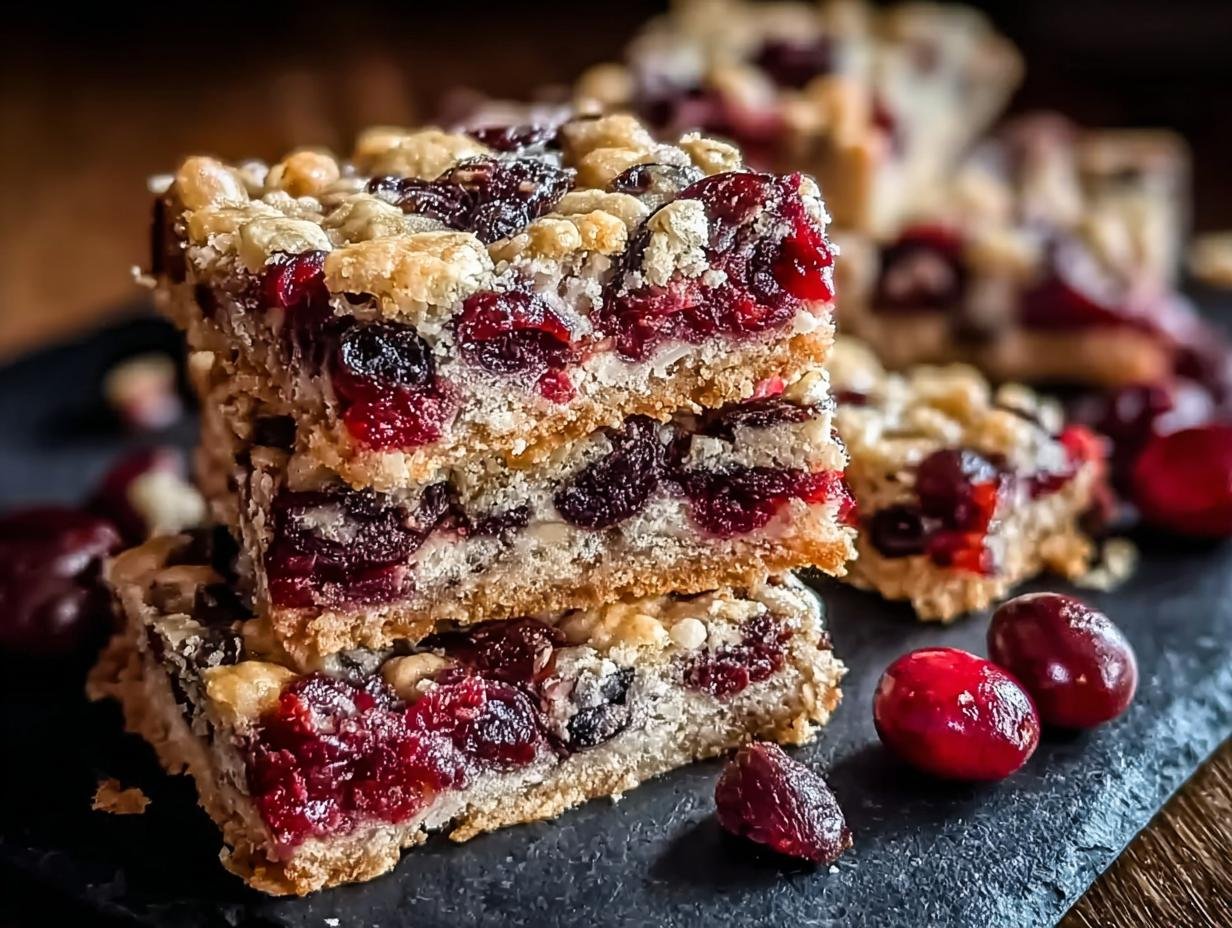
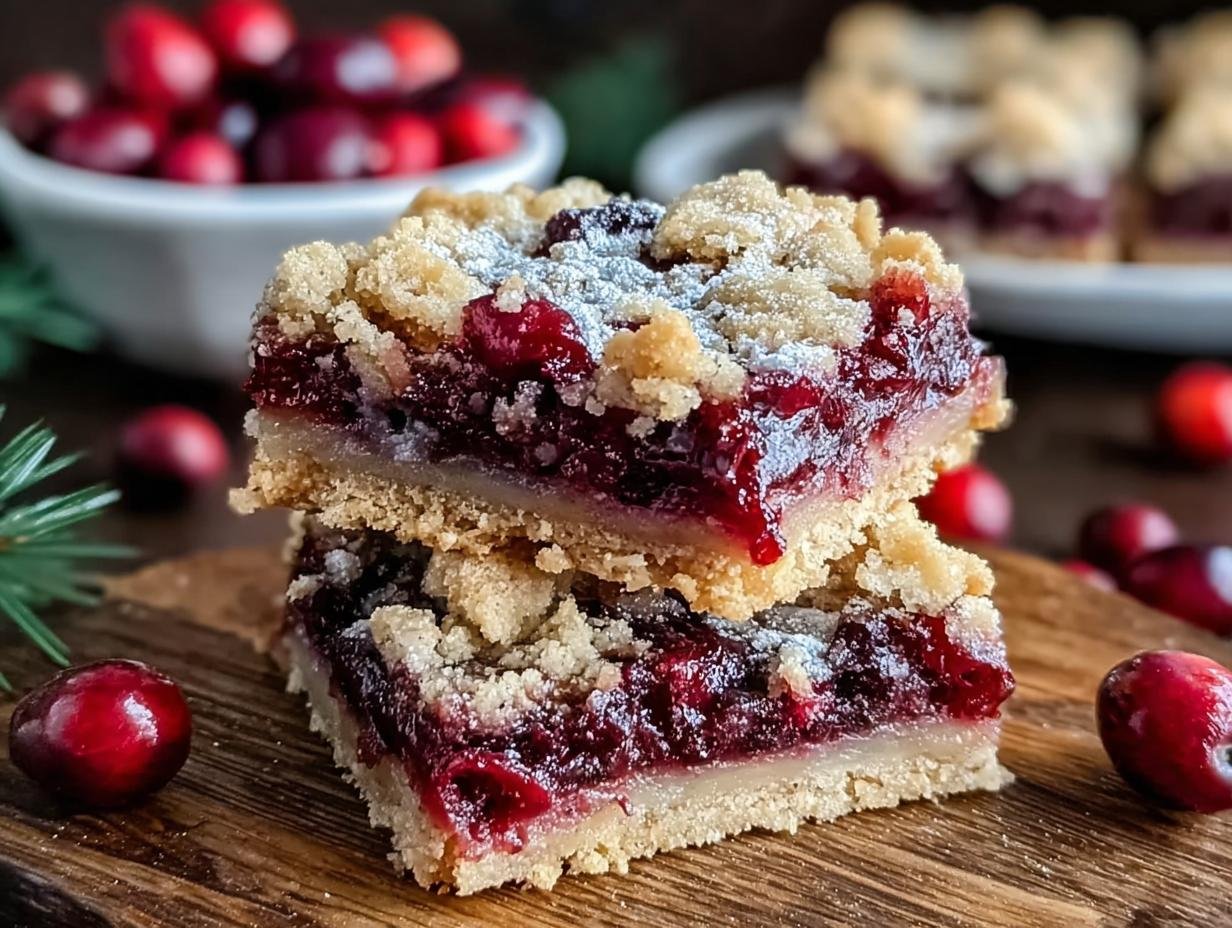
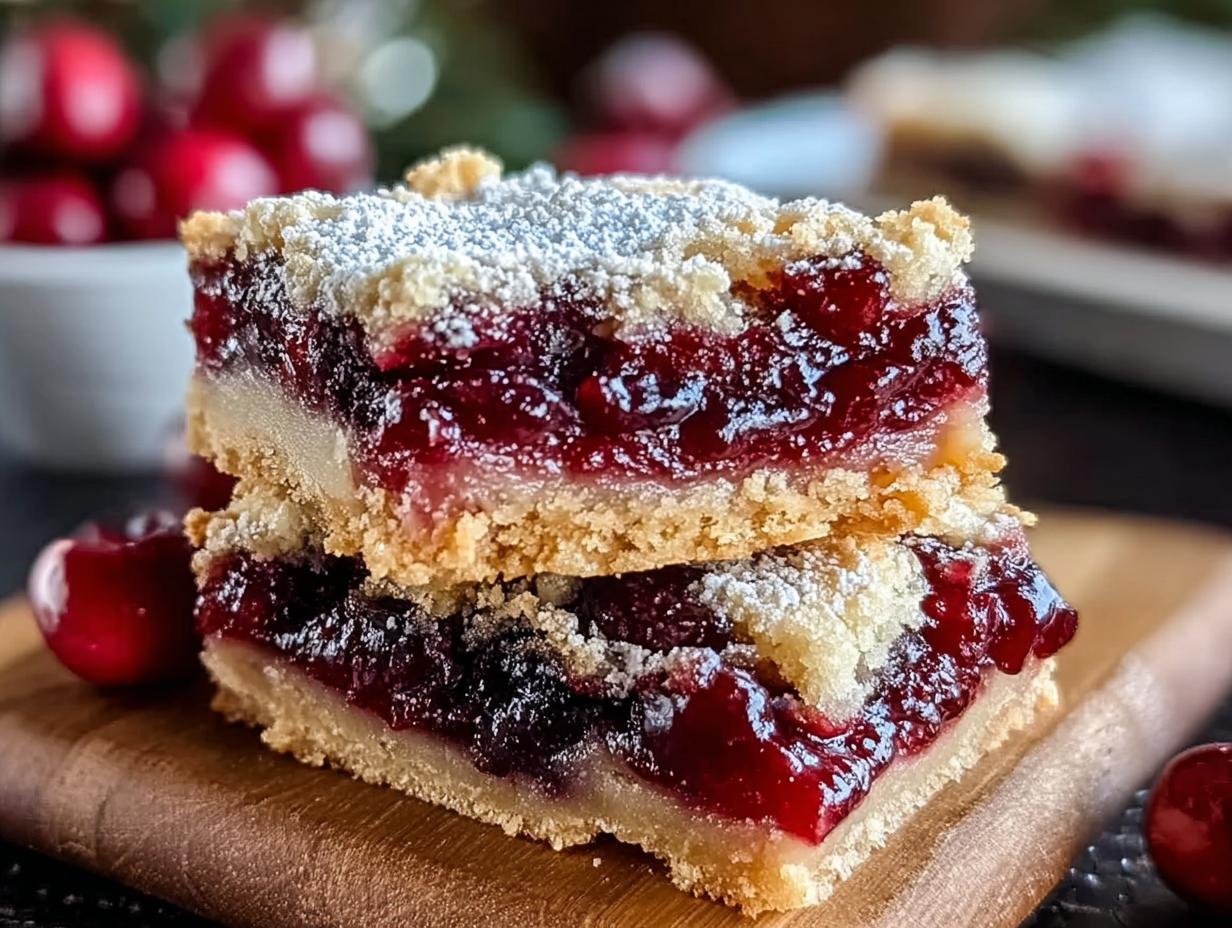
Christmas Cherry Bars have been a staple in my holiday baking for years, bringing a burst of festive color and sweet-tart flavor to every gathering. I remember the first time I made them; the kitchen filled with the comforting aroma of baked goods and the bright, slightly tangy scent of cherries. They looked so beautiful with their ruby-red filling peeking through the golden, buttery crust. This easy Christmas cherry bar recipe is incredibly simple, making it perfect even for beginners looking to add some holiday cheer to their dessert table. Let’s get baking these festive delights!
Why You’ll Love This Christmas Cherry Bars
These festive cherry bar cookies are a holiday dream come true! They’re incredibly simple to whip up, making them perfect for busy bakers. The buttery shortbread base is simply divine, and that sweet-tart cherry filling is just heavenly. You’ll love how easily they come together, and they always disappear fast at parties!
- Effortless Holiday Baking: These easy Christmas cherry bars are a breeze to make, even for beginners.
- Stunning Presentation: The bright red cherry filling peeking through makes them incredibly festive.
- Perfectly Balanced Flavor: The sweet, buttery base complements the tart cherry layer beautifully.
- Crowd-Pleasing Treat: Everyone adores these holiday cherry bar recipes; they’re a guaranteed hit.
- Make-Ahead Magic: Prepare them a day or two in advance for stress-free entertaining.
- Versatile Dessert: They’re fantastic for cookie exchanges, potlucks, or just a special treat.
- Simple Ingredients: You likely have most of the Christmas cherry bar ingredients in your pantry already.
Christmas Cherry Bar Ingredients
Gathering the right Christmas cherry bar ingredients is the first step to baking these delightful holiday treats. You’ll need a few staples for the buttery base and a simple canned filling for that classic sweet-tart flavor. I always make sure to have these on hand when the holiday season rolls around!
Base Ingredients
- 1 cup unsalted butter, softened – using softened butter helps it cream easily with the sugar for a tender base.
- 2 cups granulated sugar – this provides sweetness and structure to the shortbread-like crust.
- 4 large eggs – they bind everything together and add richness.
- 1 teaspoon vanilla extract – for that classic warm, sweet flavor.
- 1 teaspoon almond extract (optional) – a little almond really enhances the cherry flavor and adds a special touch.
- 3 cups all-purpose flour – the backbone of our base, providing the perfect texture.
- 1 teaspoon salt – balances the sweetness and brings out the flavors.
Cherry Layer Ingredients
- 1 can cherry pie filling (21 oz / 595 g) – this is the star! It provides that gorgeous red color and sweet-tart burst everyone loves in these festive cherry bar cookies.
Glaze Ingredients (Optional)
- 1 cup powdered sugar – for a smooth, sweet finish.
- 2–3 tablespoons milk – to reach the perfect drizzling consistency.
- 1/2 teaspoon vanilla or almond extract – adds a hint of flavor to the glaze.
How to Make Christmas Cherry Bars
Making these festive Christmas cherry bars is a joy from start to finish. The process is straightforward, and the results are stunningly delicious. Follow these simple steps to create a holiday treat that will impress everyone!
Preparing the Pan and Batter
- Step 1: Preheat your oven to 350°F (175°C). Grease and line a 9×13-inch baking pan with parchment paper. This ensures your bars won’t stick and makes cleanup a breeze.
- Step 2: In a large mixing bowl, cream together 1 cup unsalted butter, softened and 2 cups granulated sugar until the mixture is light and fluffy. This creaming process incorporates air, which helps create a tender base for your Christmas bar dessert.
- Step 3: Beat in 4 large eggs one at a time, making sure each is fully incorporated before adding the next. Then, stir in the 1 teaspoon vanilla extract and the optional 1 teaspoon almond extract for that signature festive aroma.
- Step 4: Gradually mix in 3 cups all-purpose flour and 1 teaspoon salt until a smooth, thick batter forms. Be careful not to overmix; you want a tender, not tough, base for your holiday cherry bar recipe.

Assembling the Bars
- Step 5: Spread about two-thirds of the prepared batter evenly across the bottom of your prepared baking pan. Use a spatula to ensure an even layer for consistent baking.
- Step 6: Spoon the 1 can (21 oz) cherry pie filling evenly over the batter layer. Gently spread it to cover, but try not to push it all the way to the edges.
- Step 7: Dollop the remaining one-third of the batter over the cherry layer. Use a spoon or your fingers to drop small spoonfuls, leaving some of the bright red cherry filling peeking through. This creates a beautiful, festive look for your Christmas bar with cherry filling.
Baking and Cooling
- Step 8: Bake for 35–40 minutes, or until the top of the bars is lightly golden brown and a toothpick inserted into the batter portion comes out clean. The kitchen will fill with a wonderful sweet and fruity aroma.
- Step 9: Once baked, remove the pan from the oven and let the bars cool completely on a wire rack. This cooling step is crucial for the bars to set properly, especially before adding the glaze.
Making and Applying the Glaze
- Step 10: While the bars cool, prepare the optional glaze. In a small bowl, whisk together 1 cup powdered sugar, 2–3 tablespoons milk, and 1/2 teaspoon vanilla or almond extract until you achieve a smooth, drizzly consistency. Add more milk, a teaspoon at a time, if it’s too thick.
- Step 11: Once the bars are completely cool, drizzle the prepared glaze evenly over the top. Let the glaze set for about 15-20 minutes before slicing into your festive cherry bar cookies.
Pro Tips for the Best Christmas Cherry Bars
Making these festive Christmas cherry bars truly special is all about a few simple tricks. I’ve learned these over the years, and they make all the difference between good and absolutely amazing. Follow these tips for holiday cherry bar perfection!
- Ensure your butter is truly softened, not melted, for the creamiest base.
- Don’t overwork the batter once the flour is added; a light hand keeps the base tender.
- Leave those cherries peeking through! It makes the bars so visually appealing and festive.
- Patience is key! Let the bars cool completely before glazing and cutting for clean slices.
What’s the secret to perfect Christmas Cherry Bars?
The real secret to these easy Christmas cherry bars is the balance of textures and flavors. Properly creaming the butter and sugar creates a tender base, while not overmixing ensures it stays that way. Plus, letting the cherries peek through adds that beautiful, festive touch.
Can I make Christmas Cherry Bars ahead of time?
Absolutely! These simple holiday cherry bars are fantastic for making ahead. You can bake them up to two days in advance and store them at room temperature, or freeze unglazed bars for up to two months. Just glaze them after thawing for the freshest taste.
How do I avoid common mistakes with Christmas Cherry Bars?
The most common mistake is overmixing the batter, which can make the base tough. Also, try not to spread the cherry filling all the way to the edges, as it can bubble over. Finally, always let them cool completely before cutting to prevent them from falling apart.

Best Ways to Serve Christmas Cherry Bars
These festive Christmas cherry bars are so versatile and look absolutely stunning on any holiday dessert platter. They’re perfect on their own, but I love serving them alongside a scoop of vanilla bean ice cream for a delightful contrast in temperature and texture. They also pair wonderfully with a warm cup of coffee or a festive mulled wine, making them a perfect treat for holiday gatherings or cookie exchanges. For an extra touch of elegance, consider serving these easy holiday cherry bars with a dollop of whipped cream and a sprinkle of powdered sugar.
Nutrition Facts for Christmas Cherry Bars
Let’s talk about what goes into these delightful Christmas cherry bar dessert treats! While the exact nutritional values can vary slightly based on specific brands and ingredients you use, here’s a general idea of what you can expect per bar. These estimates help you understand the makeup of this festive holiday bake.
- Calories: Approximately 250-300
- Fat: Around 12-15g
- Saturated Fat: Typically 7-9g
- Protein: About 2-3g
- Carbohydrates: Roughly 35-40g
- Fiber: Around 1-2g
- Sugar: Approximately 25-30g
- Sodium: Usually 100-150mg
Nutritional values are estimates and may vary based on specific ingredients used.
How to Store and Reheat Christmas Cherry Bars
Properly storing your homemade Christmas cherry bars ensures they stay fresh and delicious for your holiday guests. After baking, always let the bars cool completely on a wire rack. This is super important before you even think about storing them, especially if you plan to glaze them. Once cooled, you can store them in an airtight container at room temperature for up to 3-4 days. If you’ve made a big batch of these easy Christmas cherry bars and want them to last longer, they freeze beautifully!
For freezing, wrap the unglazed bars tightly in plastic wrap, then in aluminum foil or place them in a freezer-safe container. They’ll keep well for up to 3 months. When you’re ready to enjoy them, simply thaw them overnight in the refrigerator. If you want to reheat them slightly, a few minutes in a warm oven (around 300°F or 150°C) can bring back that fresh-baked warmth. This makes them a perfect make-ahead Christmas bar dessert!
Frequently Asked Questions About Christmas Cherry Bars
What are Christmas Cherry Bars?
Christmas Cherry Bars are a festive, easy-to-make dessert featuring a buttery shortbread-like base topped with a sweet and tart cherry filling. They’re a popular holiday treat, often decorated with a simple glaze, making them a beautiful addition to any Christmas dessert table. Think of them as a simpler, bar-form version of a cherry pie, perfect for parties.
Can I use fresh cherries instead of canned pie filling?
While canned cherry pie filling is convenient for these easy Christmas cherry bars, you absolutely can use fresh or frozen cherries! You’ll need to pit about 3-4 cups of fresh cherries and cook them down with sugar and a thickener like cornstarch until they reach a pie-filling consistency. This homemade version can add an extra special touch to your holiday cherry bar recipe. For more information on thickening agents, you can check out resources on how to thicken sauces and fillings.
How do I get clean cuts when slicing the bars?
For the cleanest slices of your festive cherry bar cookies, I highly recommend letting the bars cool completely in the pan. For extra-sharp edges, chill the cooled bars in the refrigerator for at least an hour before cutting. Use a long, sharp knife, wiping it clean between each cut. This simple trick ensures your homemade Christmas cherry bars look as good as they taste!
Can I make Christmas Cherry Bars gluten-free?
Yes, you can easily adapt this Christmas cherry bar dessert to be gluten-free! Simply substitute the all-purpose flour with your favorite gluten-free all-purpose baking blend that contains xanthan gum. Ensure the blend is suitable for baking. The rest of the recipe, including the cherry filling and glaze, is naturally gluten-free, making these simple holiday cherry bars accessible for everyone. For more information on gluten-free baking, you can explore resources on flour substitutions.
Variations of Christmas Cherry Bars You Can Try
While the classic Christmas cherry bar recipe is divine, don’t be afraid to get creative with these festive treats! I love experimenting with different flavors and methods to keep things exciting each holiday season. Trying these variations can add a unique twist to your Christmas bar dessert.
- White Chocolate Drizzle: After glazing, melt some white chocolate chips and drizzle them over the top. This adds a creamy sweetness that pairs wonderfully with the tart cherries, making them even more festive red cherry Christmas bars.
- Almond Extract Boost: If you love the flavor of almond, increase the almond extract in both the base and the glaze. This really brings out the cherry flavor and adds a sophisticated nutty note to your Christmas cherry bar dessert.
- Gluten-Free Version: Easily adapt these for friends with dietary needs! Use a good quality gluten-free all-purpose flour blend in place of the regular flour. The texture remains wonderfully tender, and no one will guess they’re gluten-free Christmas bar recipes with cherries.
- Spice It Up: Add a pinch of cinnamon and nutmeg to the batter for the base. This warm spice blend complements the cherries beautifully and adds another layer of cozy holiday flavor to your Christmas cherry bar cookies.
For more ideas on holiday baking, check out these deliciously simple multigrain bread recipes or explore the benefits of hibiscus water.
Print
Christmas Cherry Bars: 1 Easy Festive Recipe
- Total Time: 55 minutes
- Yield: 24 bars 1x
- Diet: Vegetarian
Description
These Christmas Cherry Bars are a festive and delicious holiday treat. They feature a buttery shortbread-like base, a sweet-tart cherry filling, and an optional simple glaze. Easy to make, they are perfect for Christmas parties, cookie exchanges, or adding holiday cheer to any dessert table. These bars bake beautifully and slice cleanly, making them a convenient and crowd-pleasing dessert.
Ingredients
- For the Base:
- 1 cup unsalted butter, softened (226 g)
- 2 cups granulated sugar (400 g)
- 4 large eggs
- 1 teaspoon vanilla extract
- 1 teaspoon almond extract (optional)
- 3 cups all-purpose flour (360 g)
- 1 teaspoon salt
- For the Cherry Layer:
- 1 can cherry pie filling (21 oz / 595 g)
- For the Glaze (Optional):
- 1 cup powdered sugar (120 g)
- 2–3 tablespoons milk
- 1/2 teaspoon vanilla or almond extract
Instructions
- Preheat your oven to 350°F (175°C). Grease and line a 9×13-inch baking pan with parchment paper.
- In a large mixing bowl, cream together softened butter and sugar until light and fluffy.
- Beat in the eggs one at a time, then add vanilla and almond extracts.
- Gradually mix in the flour and salt until a smooth batter forms.
- Spread about two-thirds of the batter evenly across the bottom of the prepared pan.
- Spread the cherry pie filling evenly over the base.
- Drop small spoonfuls of the remaining batter over the cherry layer, leaving some cherries exposed for a festive look.
- Bake for 35–40 minutes, or until the top is lightly golden and a toothpick inserted comes out clean.
- Let bars cool completely on a wire rack.
- For the glaze: whisk powdered sugar, milk, and vanilla (or almond extract) until smooth.
- Drizzle glaze over cooled bars before cutting into squares.
Notes
- Use room temperature butter for easy creaming.
- Do not overmix the batter to keep the base tender.
- Leave some cherries peeking through the top for a beautiful holiday look.
- Allow bars to cool fully before glazing and cutting to prevent crumbling.
- Chill bars in the fridge before cutting with a sharp knife for clean slices.
- Consider freezing unglazed bars for up to 2 months, and glaze after thawing.
- Prep Time: 15 minutes
- Cook Time: 40 minutes
- Category: Dessert
- Method: Baked
- Cuisine: American
Nutrition
- Serving Size: 1 bar

