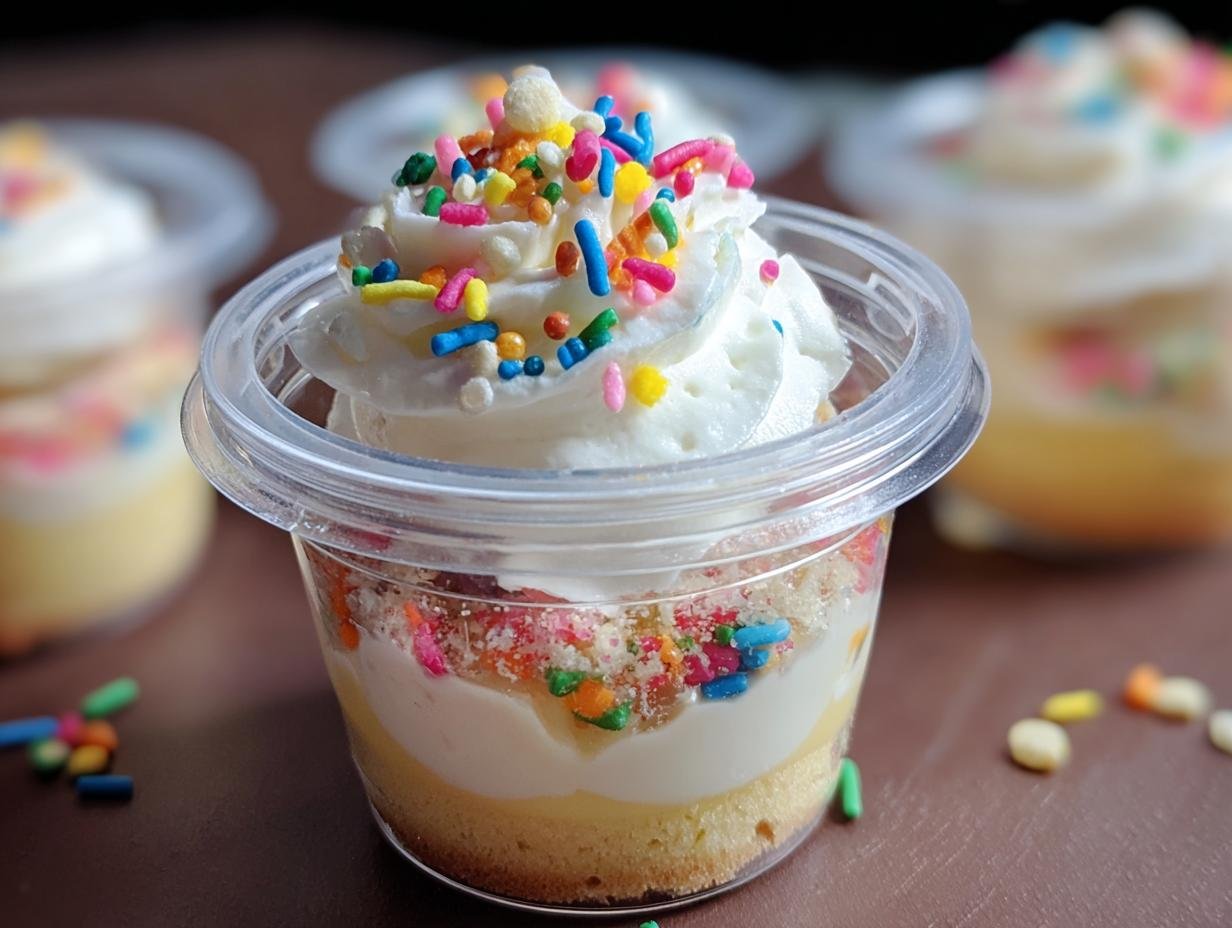
Cake cups have become my absolute favorite way to celebrate any occasion, and I’m so excited to share this simple recipe with you! There’s something magical about these adorable mini cakes, almost like a fancy cupcake but even more fun to assemble. I remember making these for my niece’s birthday last year, and the sheer delight on everyone’s faces as they saw the colorful layers of cake and frosting peeking out of the jars was priceless. The sweet aroma of vanilla cake filling my kitchen always brings back such happy memories. These delightful dessert cups are perfect for bake sales, baby showers, or even just a sweet treat to brighten your weekday. Let’s get cooking!
Why You’ll Love These Cake Cups
These little delights are an absolute win for so many reasons:
- Incredible Taste: Moist, fluffy cake paired with creamy, sweet frosting is pure bliss.
- Quick Prep Time: You can whip these up in under an hour for a speedy treat.
- Portion Control: Perfect for enjoying a sweet dessert without overindulging.
- Budget-Friendly: Uses a simple cake mix and pantry staples, making them super affordable.
- Family-Friendly Fun: Kids adore helping assemble these colorful individual cakes.
- Versatile for Any Event: Dress them up or down for birthdays, baby showers, or casual get-togethers.
- Adorable Presentation: These individual cakes look as good as they taste, adding charm to any dessert table.
- Easy to Transport: Great for bake sales or potlucks, as they’re already perfectly portioned.
Ingredients for Cake Cups
Making these delightful dessert cups is straightforward with these ingredients. For the cake itself, you’ll need a standard 1 box white cake mix (15.25 oz), which forms the base of our vanilla cake cups recipe. You’ll also need 1 cup water, 1/2 cup vegetable oil, and 3 large eggs. For an extra festive touch, consider adding 1/4 cup rainbow sprinkles (optional) to the batter. The creamy frosting requires 1 cup unsalted butter, softened, ensuring a smooth texture. We’ll combine this with 4 cups powdered sugar for sweetness, 1 tablespoon vanilla extract for that classic flavor, and 1–2 tablespoons milk or heavy cream to achieve the perfect consistency. Don’t forget your optional toppings like extra sprinkles! These components come together for beautiful individual cakes.
How to Make Cake Cups
Creating these adorable dessert cups is a fun process, and I just love how they turn out! Here’s how we’ll make them:
- Step 1: Let’s get started by preheating your oven to 350°F (175°C). Grab a 9×13-inch baking pan and grease it well, or line it with parchment paper for easy removal.
- Step 2: In a large bowl, combine the contents of your 1 box white cake mix (15.25 oz), 1 cup water, 1/2 cup vegetable oil, and 3 large eggs. Beat this mixture on medium speed for about 2 minutes. You’re looking for a smooth, well-combined batter. The aroma of the batter alone is so promising! If you’re adding sprinkles for that confetti look, gently fold them in now – it’s a fun part of baking individual cakes.
- Step 3: Pour the batter evenly into your prepared pan. Bake for 25–30 minutes. You’ll know it’s ready when a toothpick inserted into the center comes out clean. Let the cake cool completely on a wire rack. Patience here is key for perfect layers.
- Step 4: While the cake cools, let’s make the frosting. In a clean bowl, beat the 1 cup unsalted butter, softened until it’s smooth and creamy. Gradually add 4 cups powdered sugar, a cup at a time, beating well after each addition. Mix in the 1 tablespoon vanilla extract and about 1–2 tablespoons milk or heavy cream until you reach a light and fluffy consistency that’s perfect for piping.
- Step 5: Once the cake is completely cool, cut it into small cubes or use a cookie cutter to make rounds that will fit nicely into your jars. This is where the magic of baking individual cakes really comes alive!
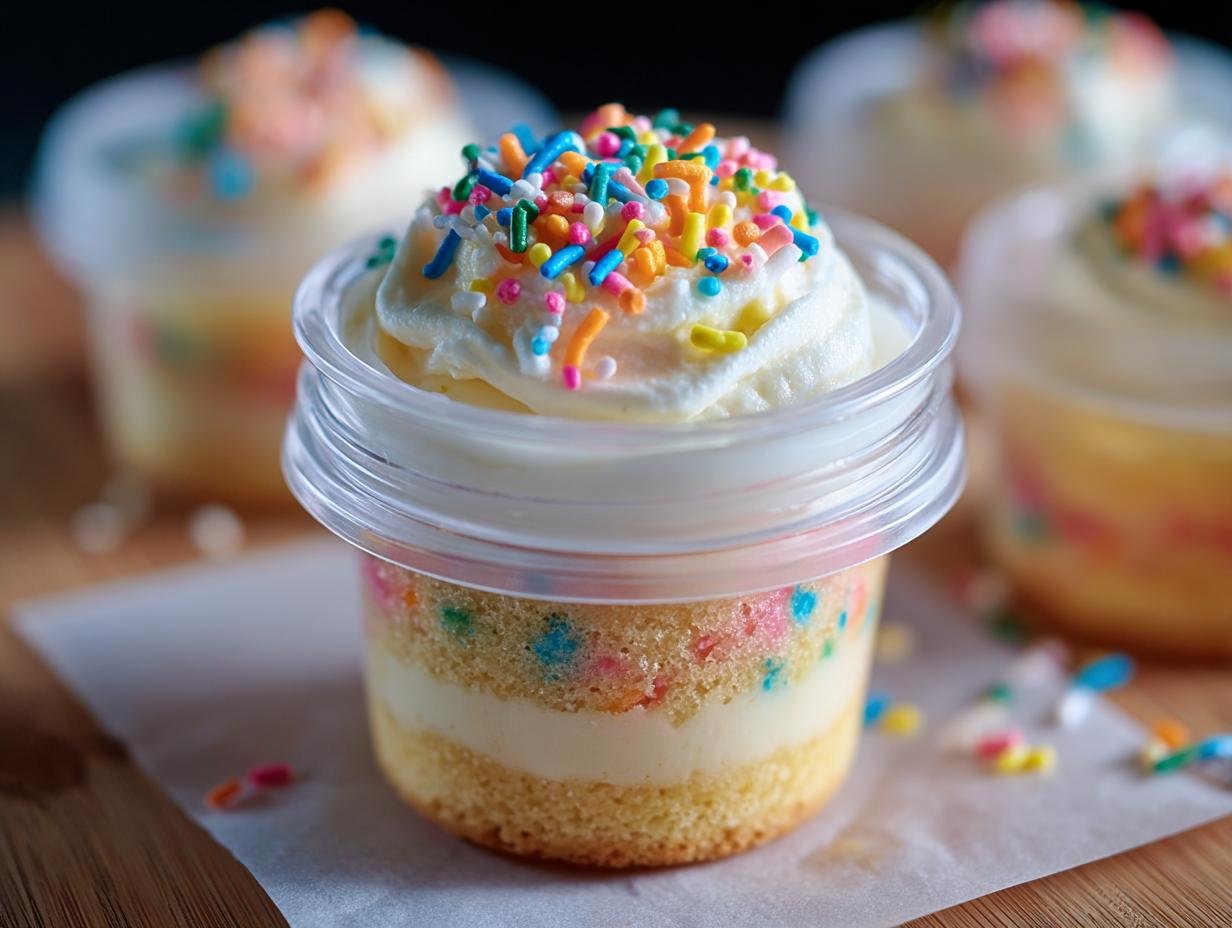
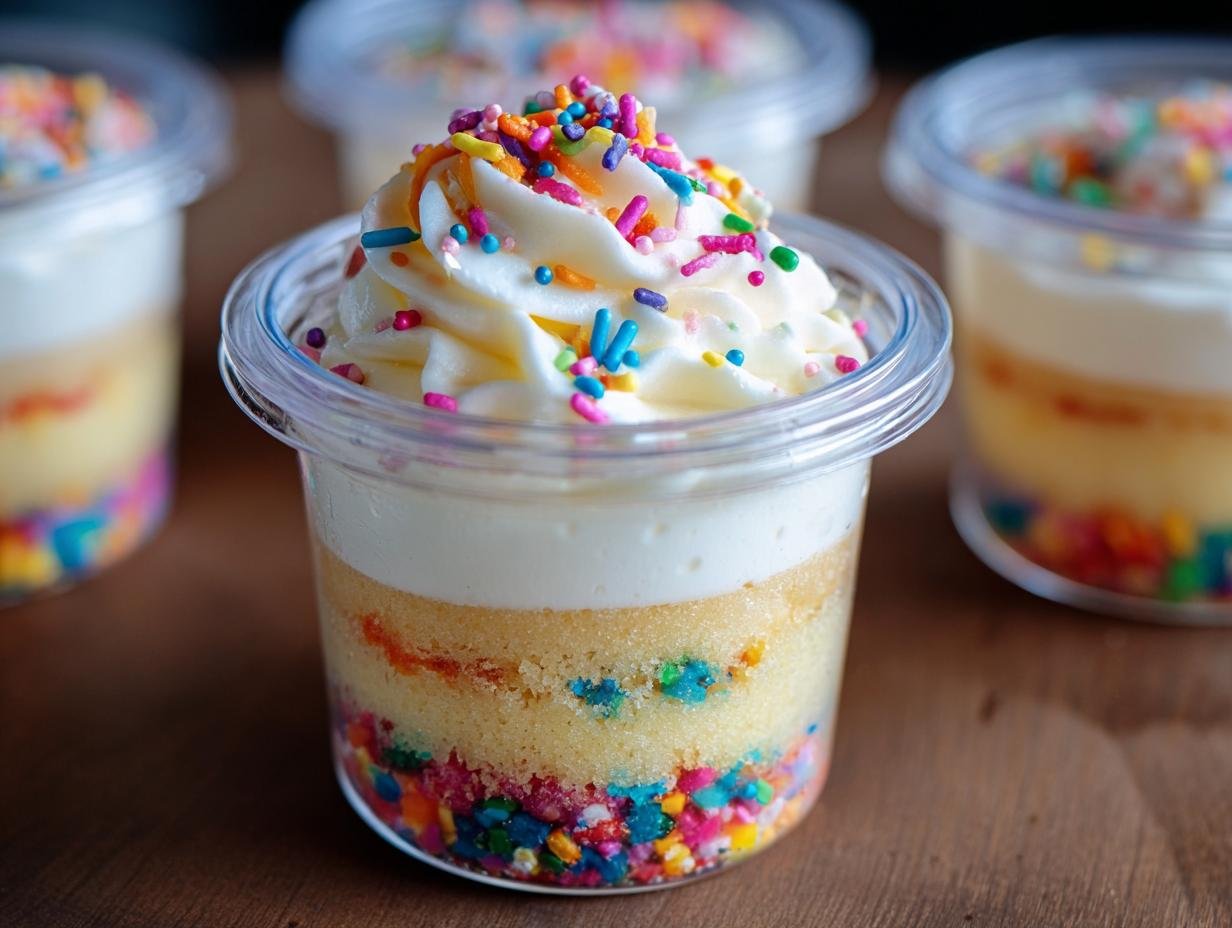
- Step 6: Time to assemble! Start layering your jars or cups. Place a layer of cake pieces at the bottom, followed by a generous swirl of frosting. Repeat these layers until the jar is full. For a professional touch, use a piping bag for your frosting. Finish with a decorative swirl on top and your chosen sprinkles or toppings.
- Step 7: For the best texture and to help the frosting set, place your assembled dessert cups in the refrigerator for at least 30 minutes before serving. This chill time really makes a difference in enjoying these delightful cake cups.
Pro Tips for the Best Cake Cups
I’ve learned a few tricks over the years that really elevate these dessert cups from good to absolutely amazing:
- Ensure your cake is completely cool before cutting and layering; warm cake will melt the frosting and create a messy situation.
- Using a piping bag with a star tip for the frosting creates beautiful, professional-looking layers that aren’t possible with just a spoon.
- Don’t overfill your jars! Leave a little space at the top for a decorative frosting flourish and toppings.
- For a more intense flavor, try using a different cake mix flavor or adding a touch of espresso powder to the chocolate frosting.
What’s the secret to perfect cake cups?
The secret to perfect cake cups lies in the layering and the frosting consistency. Make sure your cake is fully cooled and cut into uniform pieces. A well-made, fluffy buttercream that’s not too stiff or too runny is key for beautiful swirls when you’re assembling. For more baking tips, check out this guide on baking essentials.
Can I make cake cups ahead of time?
Absolutely! You can bake the cake layers and make the frosting a day in advance. Store the cooled cake wrapped tightly at room temperature and the frosting in an airtight container in the refrigerator. Assemble them a few hours before serving for the freshest taste.
Why are my cake cups sinking?
Cake cups can sink if the oven temperature is too high, causing the outside to cook too quickly while the inside is still raw. Another common reason is opening the oven door too early during baking, which can cause the delicate structure to collapse. Ensure your baking powder or soda is fresh! Understanding ingredient freshness is crucial for baking success.
Best Ways to Serve Cake Cups
Presenting these delightful dessert cups is almost as fun as eating them! For a special occasion, think about serving them alongside a scoop of vanilla bean ice cream or a dollop of fresh whipped cream; the contrast in textures is divine. They also make charming additions to a dessert bar for parties, and they pair wonderfully with fruit salads or a light mousse. For larger gatherings, consider these as elegant, individual cakes – they’re perfect as part of a dessert spread at tiny cakes for events, offering guests a beautiful, single-serving option that’s easy to manage and incredibly delicious.
Nutrition Facts for Cake Cups
Let’s break down the goodness in each of these delightful dessert cups. While the exact numbers can vary based on your specific ingredients and how much frosting you pile on, here’s a general idea of what you can expect per serving:
- Calories: Approximately 350-400
- Fat: Around 15-20g
- Saturated Fat: 8-10g
- Protein: 3-5g
- Carbohydrates: 50-60g
- Fiber: 1-2g
- Sugar: 35-45g
- Sodium: 200-300mg
Nutritional values are estimates and may vary based on specific ingredients used, especially the type of cake mix and frosting additions. For more insights into healthy eating, explore hibiscus water benefits.
How to Store and Reheat Cake Cups
Once your beautiful dessert cups are assembled and chilled, proper storage is key to keeping them fresh and delicious. Make sure the cake layers are completely cool before assembling, and let the finished cups chill in the refrigerator for at least 30 minutes to set the frosting. For the best quality, store your portion control cakes in airtight containers or tightly covered with plastic wrap. They’ll stay wonderfully fresh in the refrigerator for up to 3–4 days. If you want to make them even further in advance, they freeze beautifully! Wrap each individual cake cup securely in plastic wrap, then a layer of aluminum foil, and freeze for up to 3 months. To reheat, simply thaw them overnight in the refrigerator. For a slightly warmer treat, you can gently warm them in a microwave for about 10–15 seconds, but be careful not to overheat the frosting!
Frequently Asked Questions About Cake Cups
What are cake cups and why are they so popular?
Cake cups, often called dessert cups or dessert shooters, are essentially single-serving cakes layered with frosting and often other delightful fillings, served in small jars or cups. Their immense popularity stems from their adorable presentation, portion control, and the sheer fun of assembling them. They’re perfect for parties because they’re easy to serve and look incredibly festive. For more on festive treats, consider a cozy breakfast idea.
Can I use a different flavor of cake mix for these dessert cups?
Absolutely! While this recipe uses a white cake mix for a beautiful vanilla base perfect for showcasing colorful layers, you can easily swap it out. Try a chocolate cake mix for a decadent chocolate cake cups dessert, or even a funfetti mix for extra colorful bits. Just follow the cake mix box instructions for liquid and oil amounts.
What’s the best way to get neat layers in my cake cups?
To achieve those beautiful, clean layers, I highly recommend using a piping bag with a round or star tip for your frosting. This gives you much more control than a spoon. Ensure your cake pieces are relatively uniform in size, and alternate cake and frosting layers systematically. A little patience goes a long way for these tiny cakes for events! For more baking inspiration, explore roasted cauliflower recipes.
Variations of Cake Cups You Can Try
These delightful dessert cups are incredibly versatile, and I love experimenting with different flavors and styles! For a rich and decadent experience, you absolutely must try a chocolate cake cups dessert. Simply use a chocolate cake mix and pair it with a creamy chocolate or even a mint-infused frosting. If you’re looking for something a bit lighter, a lemon cake mix with a raspberry filling makes for a bright and refreshing treat. For those with dietary needs, you can often find gluten-free or vegan cake mixes that work beautifully, though you might need to adjust the liquid or oil amounts slightly. You can even bake the cake layers in mini muffin tins for even smaller, bite-sized treats, perfect for a dessert tasting menu or as tiny cakes for events!
Print
Cake Cups: 7 Fun & Easy Recipe Ideas
- Total Time: 50 minutes + chilling
- Yield: 10–12 dessert cups 1x
- Diet: Vegetarian
Description
This simple cake in a cup recipe is festive, adorable, and easy to make. Perfect for birthdays, baby showers, bake sales, or weekday treats, these colorful dessert shooters are fun to prepare and versatile for any occasion. Layer fluffy cake with creamy frosting in mason jars or cups for a sweet presentation guests will love.
Ingredients
- 1 box white cake mix (15.25 oz)
- 1 cup water
- 1/2 cup vegetable oil
- 3 large eggs
- 1/4 cup rainbow sprinkles (optional)
- 1 cup unsalted butter, softened
- 4 cups powdered sugar
- 1 tablespoon vanilla extract
- 1–2 tablespoons milk or heavy cream
- Optional Toppings: Extra rainbow sprinkles, Mini candies or cookies, Colorful whipped cream
Instructions
- Preheat your oven to 350°F (175°C). In a large bowl, combine the white cake mix, water, vegetable oil, and eggs. Beat the mixture on medium speed for about 2 minutes until the batter is smooth and well combined. If you’re using rainbow sprinkles for a fun confetti look, gently fold them in at the end.
- Pour the batter into a greased 9×13-inch baking pan and spread evenly. Bake for 25–30 minutes or until a toothpick inserted in the center comes out clean. Once baked, allow the cake to cool completely on a wire rack.
- In a clean bowl, beat the softened butter until smooth and creamy. Gradually add in the powdered sugar, one cup at a time, beating well after each addition. Mix in the vanilla extract and just enough milk or cream to reach your desired consistency. Beat for another 2–3 minutes until light and fluffy.
- Cut the cooled cake into small cubes or rounds using a cookie cutter that fits your jar. Begin layering the jars or cups: a layer of cake, followed by a swirl of frosting (use a piping bag for a clean look), and repeat until the jar is full. Finish with a decorative swirl of frosting on top and a generous sprinkle of colorful toppings.
- Place the dessert cups in the refrigerator for at least 30 minutes. This helps set the frosting and improves the overall texture.
Notes
- Always let the cake cool fully before assembling to prevent frosting from melting.
- Use a piping bag for cleaner, neater layers.
- Clear jars show off the layers beautifully.
- Store covered in the fridge up to 4 days.
- Variations: Try chocolate cake with mint frosting, red velvet with cream cheese, or lemon cake with blueberry filling.
- Prep Time: 20 minutes
- Cook Time: 30 minutes
- Category: Dessert
- Method: Baked and Assembled
- Cuisine: American
Nutrition
- Serving Size: 1 dessert cup
