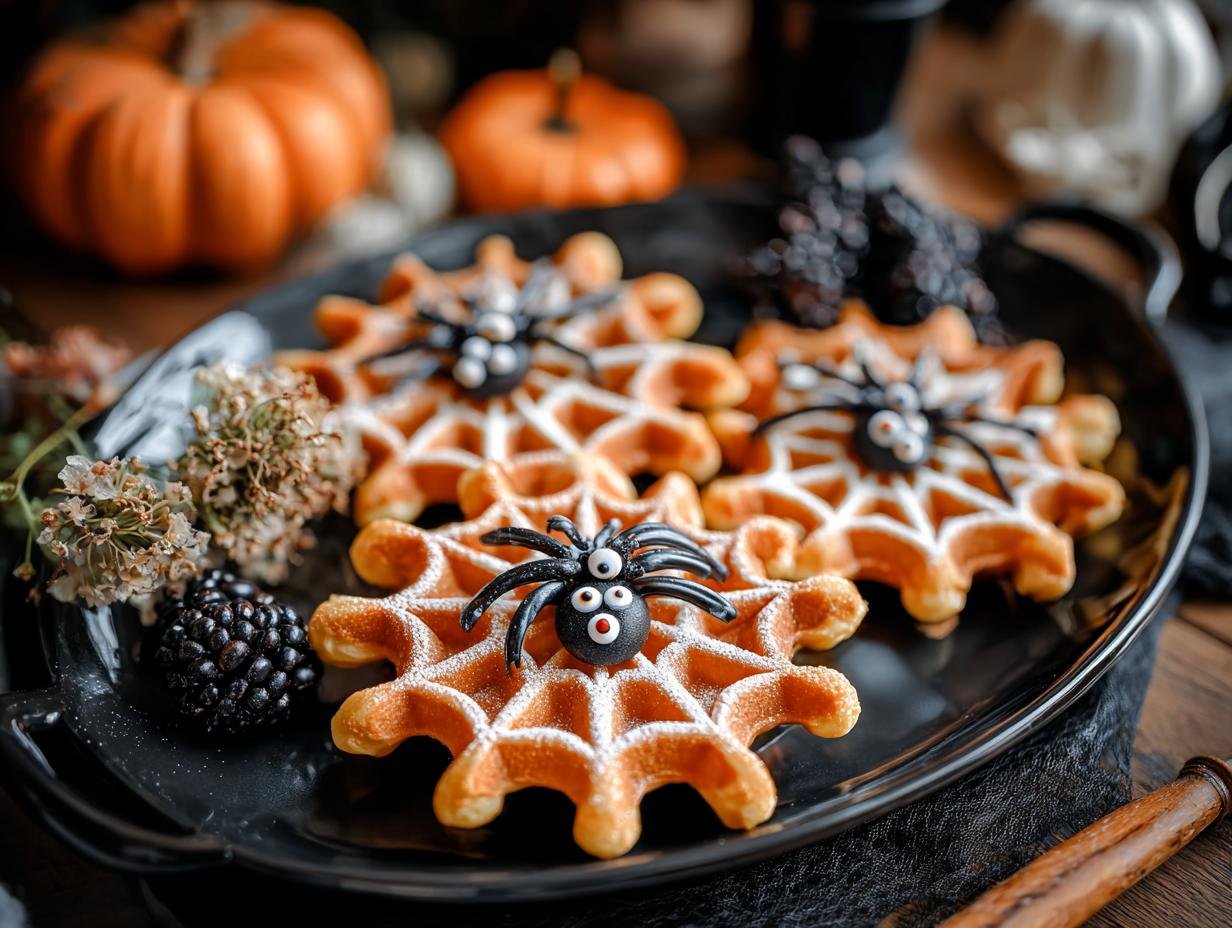
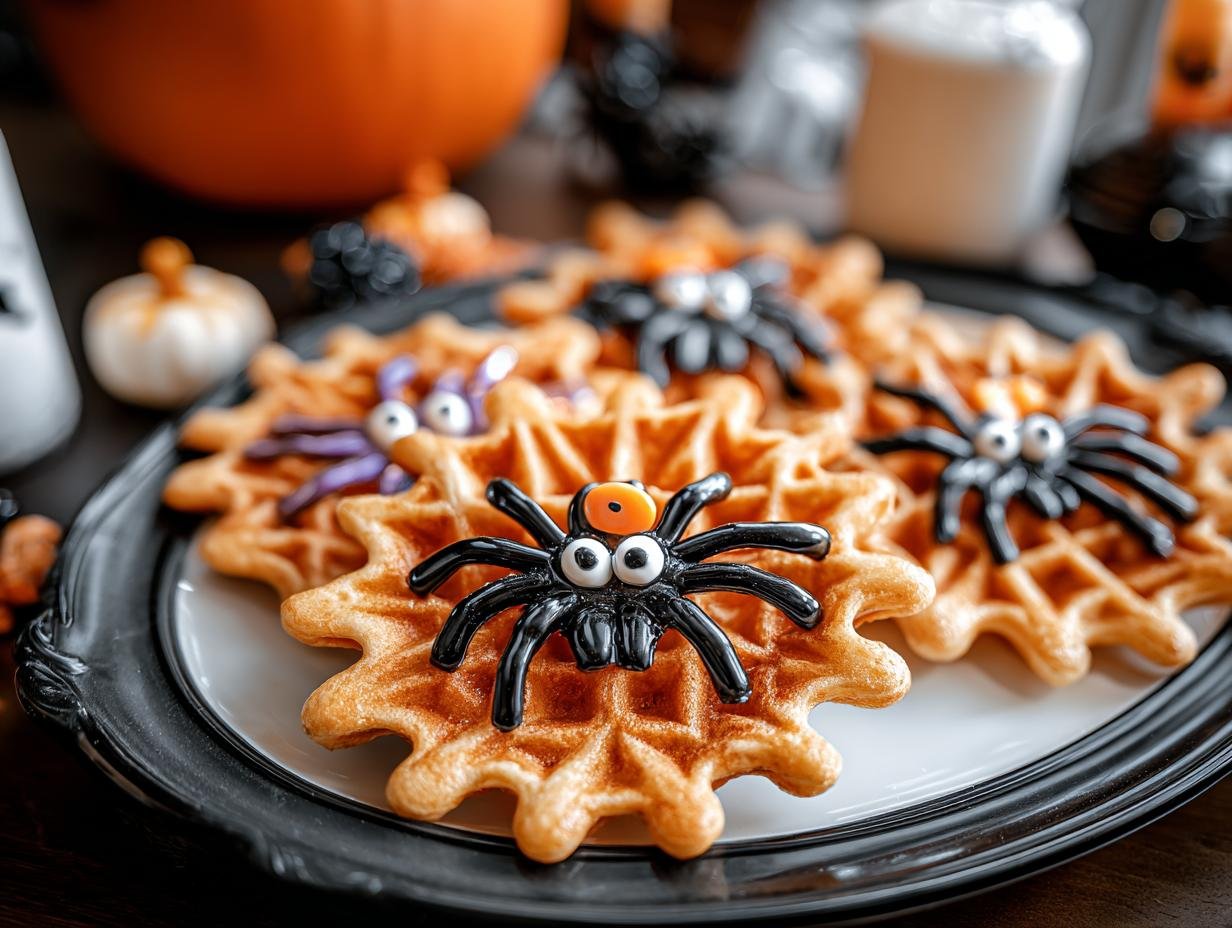
Halloween Spider Web Waffles have become my absolute favorite way to kick off the spooky season! There’s something so magical about seeing those intricate black webs appear on a golden waffle. I remember the first time I tried making them, my kids’ eyes lit up like little jack-o’-lanterns. The aroma of warm batter and sweet vanilla filled my kitchen, and we all gathered around, mesmerized by the process. These spider web waffles for Halloween are not only visually stunning but also incredibly delicious, offering a fun and festive twist on a breakfast classic. Let’s get cooking these creepy-cute treats!
Why You’ll Love These Spider Web Waffles for Halloween
These aren’t just any waffles; they’re a portal to Halloween fun! Here’s why you’ll adore making and serving them:
- They’re incredibly festive and fit perfectly into any Halloween gathering.
- The visual appeal is undeniable, making breakfast a truly memorable event.
- They are surprisingly easy Halloween spider web waffles to create, even for beginners.
- The customization options are endless, allowing you to tailor them to your taste.
- They offer a delightfully spooky spider web waffles experience for all ages.
- The black waffle batter is a unique twist that’s sure to impress.
- They’re a fantastic way to get kids involved in Halloween food preparation.
- The taste is classic waffle goodness with a fun, seasonal flair.
Ingredients for Your Spooky Spider Web Waffles
Whipping up these Halloween spider web waffles is a breeze with these simple ingredients. We’re focusing on a great spider web waffle batter recipe that’s easy to work with and delicious to eat. You’ll need:
- 2 cups all-purpose flour – the base for our fluffy waffles
- 2 tablespoons granulated sugar – for a touch of sweetness
- 1 tablespoon baking powder – helps them rise beautifully
- ½ teaspoon salt – balances the flavors
- 1¾ cups milk – our liquid base for the batter
- 2 large eggs – they bind everything together
- ½ cup vegetable oil – for moisture and tenderness
- 1 teaspoon vanilla extract – adds a lovely aroma and taste
- Black gel food coloring – the key to those spooky webs! Gel works best as it won’t thin the batter.
- Optional decorations: candy eyes, chocolate syrup, sprinkles, mini spiders (not edible) – to bring your webs to life!

How to Make Halloween Spider Web Waffles
Ready to create some edible Halloween magic? Follow these simple steps for the most amazing Halloween spider web waffles. This guide will show you exactly how to make spider web waffles that are both impressive and delicious.
- Step 1: Prepare Your Cooking Surface Preheat your griddle or electric waffle iron according to the manufacturer’s instructions. If using a skillet or griddle, lightly grease it with a little oil or butter to prevent sticking. For the best results, aim for a medium heat.
- Step 2: Mix the Dry Ingredients In a large mixing bowl, whisk together the 2 cups all-purpose flour, 2 tablespoons granulated sugar, 1 tablespoon baking powder, and ½ teaspoon salt. This ensures all the leavening agents and seasonings are evenly distributed, which is key for fluffy waffles.
- Step 3: Combine the Wet Ingredients In a separate, medium-sized bowl, whisk together the 1¾ cups milk, 2 large eggs, ½ cup vegetable oil, and 1 teaspoon vanilla extract. Whisk until the eggs are well incorporated and the mixture is smooth.
- Step 4: Create the Batter Base Pour the wet ingredients into the bowl with the dry ingredients. Mix with a whisk or spatula until just combined. A few small lumps are perfectly fine; be careful not to overmix, as this can make your waffles tough.
- Step 5: Achieve Spooky Darkness Now for the fun part! Add your black gel food coloring to the batter. Start with a teaspoon and gradually add more until you achieve a deep, dark, spooky black color that’s perfect for Halloween. Stir gently until the color is uniform.
- Step 6: Pipe Your Spider Webs Transfer the dark batter into a squeeze bottle or a piping bag fitted with a small round tip. This is where the artistry comes in for your decorating Halloween waffles spider web designs! On your preheated griddle or waffle iron, pipe a circle in the center, then draw straight lines radiating outwards. Finally, connect these lines with curved lines to create the classic web pattern.
- Step 7: Cook to Perfection Cook the waffle for about 2–3 minutes, or until it’s firm and holds its shape. If you’re using a waffle iron, close the lid and cook according to its directions. If cooking on a griddle, you might need to carefully flip it to ensure even cooking. The aroma of sweet, cooked batter will fill your kitchen!
- Step 8: Cool and Decorate Carefully remove the cooked spider web waffle from the griddle and place it on a wire rack to cool slightly. Once cooled enough to handle, you can add your optional decorations like candy eyes, a drizzle of chocolate syrup, or spooky sprinkles to truly bring your spider web breakfast Halloween creation to life.
Pro Tips for the Best Spider Web Waffles for Halloween
Want to make your Halloween spider web waffles absolutely perfect? I’ve picked up a few tricks over the years that make all the difference:
- For the crispiest webs, make sure your griddle or waffle iron is hot before you start piping.
- Don’t overwork the batter after adding the flour; a few lumps are better than tough waffles.
- Using gel food coloring is crucial. Liquid coloring can thin out your batter, making it harder to pipe those delicate webs.
- If your batter seems too thick for piping, thin it slightly with a tablespoon of milk at a time until it flows smoothly.
What’s the secret to perfect Halloween Spider Web Waffles?
The real secret to perfect Halloween Spider Web Waffles is the batter consistency and temperature. You need a batter that’s thick enough to hold its shape but thin enough to pipe easily. Getting that right spider web design waffles for kids takes a little practice, but the result is worth it!
Can I make Spider Web Waffles ahead of time?
You can prepare the black spider web waffle batter a day in advance and store it in an airtight container in the refrigerator. Just give it a good stir before piping. However, for the best texture and appearance, it’s ideal to cook them fresh right before serving.
How do I avoid common mistakes with Halloween Spider Web Waffles?
A common mistake is using a griddle that’s not hot enough, which leads to webs that spread too much. Another pitfall is overmixing the batter, making the waffles tough. Lastly, don’t forget to grease your cooking surface properly to prevent sticking!

Best Ways to Serve Your Spooky Spider Web Waffles
Once your Halloween Spider Web Waffles are cooked and decorated, the fun really begins! These spooky treats are fantastic on their own, but I love taking them up a notch with complementary sides and toppings. For a classic experience, drizzle them generously with warm spider web waffles with syrup. If you’re looking for more creative spider web waffles topping ideas, consider a dollop of whipped cream with a few candy eyes nestled in it, or a sprinkle of powdered sugar to mimic a misty graveyard. You could also serve them alongside some fresh fruit like berries or sliced bananas for a balanced, festive breakfast.
Nutrition Facts for Halloween Spider Web Waffles
These festive waffles are as delicious as they are fun! Here’s a look at the nutritional breakdown per serving, keeping in mind these are estimates for our Halloween spider web waffles recipe:
- Calories: 280
- Fat: 12g
- Saturated Fat: 2g
- Protein: 6g
- Carbohydrates: 38g
- Fiber: 2g
- Sugar: 10g
- Sodium: 350mg
Nutritional values are estimates and may vary based on specific ingredients used and portion sizes.
How to Store and Reheat Halloween Spider Web Waffles
Don’t let your spooky creations go to waste! Once your Halloween Spider Web Waffles are completely cooled, you can store them for later enjoyment. For the best results, I like to stack them with parchment paper in between to prevent sticking, then place them in an airtight container or a heavy-duty freezer bag. This way, you can have a delicious spider web waffles, spooky breakfast treat ready whenever the craving strikes. They’ll stay fresh in the refrigerator for about 3-4 days. If you want to keep them even longer, freeze them for up to 3 months!
When you’re ready to reheat, you have a few great options. For a quick morning or afternoon snack, pop them in the toaster on a medium setting until warm and slightly crisp. Alternatively, you can reheat them in a preheated oven at 350°F (175°C) for about 5-7 minutes, which helps revive their texture beautifully. Both methods are super easy and get you back to enjoying these fun waffles in no time!
Frequently Asked Questions About Spider Web Waffles for Halloween
Can I use a regular waffle maker for Halloween Spider Web Waffles?
Absolutely! While a flat griddle or skillet is great for piping freehand webs, a traditional waffle maker works too. You’ll pipe the web design directly onto the hot iron before closing it. It might take a little practice to get the web shape just right in the waffle grid, but it’s a fun challenge!
What’s the best way to get a crisp web texture?
For the crispiest webs, ensure your cooking surface is properly preheated and lightly greased. Don’t overcrowd the pan if you’re using a griddle. The key is consistent heat. Many people find that cooking them slightly longer on a lower heat setting before flipping helps achieve that perfect crispness. This is a great tip for achieving the best Halloween spider web waffles.
How do I make the spider web design clearer?
To make your spider web design pop, ensure your batter is a deep, consistent black. Using gel food coloring is essential for this. Pipe the webs carefully, and don’t worry if they aren’t perfect the first time. Adding a contrasting topping, like a drizzle of white chocolate or a sprinkle of powdered sugar, can also enhance the web’s visibility, making them a fantastic spider web breakfast Halloween treat.
Can I add flavors to the spider web waffle batter?
Yes, you can! For a festive twist, consider adding a teaspoon of pumpkin pie spice or a tablespoon of unsweetened cocoa powder to the dry ingredients. These additions can complement the spooky theme and add a delicious depth of flavor to your Halloween Spider Web Waffles, making them even more unique.
Creative Spider Web Waffles Halloween Variations
Beyond the classic black web, there are so many fun ways to get creative with your Halloween Spider Web Waffles! These variations are perfect for making your spooky breakfast even more special. Let’s explore some exciting ideas that will impress everyone, especially the little ones.
- Color Play: Instead of black, try a vibrant purple or deep blue batter for a different kind of spooky effect. You can still pipe white or lighter-colored batter over these for the web design, creating a truly unique look.
- Flavor Infusions: For a richer taste, stir in a tablespoon of unsweetened cocoa powder or a teaspoon of pumpkin pie spice into the dry ingredients. These additions make for delicious creative spider web waffles Halloween treats that are perfect for the season.
- Dietary Adaptations: Need a gluten-free or vegan option? Simply swap the all-purpose flour for your favorite gluten-free blend and use a dairy-free milk (like almond or oat milk) and a flax egg (1 tbsp flaxseed meal + 3 tbsp water, let sit for 5 mins) instead of milk and eggs.
- Mini Spider Web Bites: Use mini waffle makers or pipe smaller web designs onto a griddle to create bite-sized treats. These are perfect for parties or as fun, snackable spider web design waffles for kids.

Halloween Spider Web Waffles: Spooky & Easy!
- Total Time: 25 minutes
- Yield: 6-8 waffles 1x
- Diet: Vegetarian
Description
Create spooktacular Halloween Spider Web Waffles with this easy recipe. Perfect for a fun and festive breakfast or snack, these black waffles are piped into web shapes and decorated for a creepy-cute Halloween treat.
Ingredients
- 2 cups all-purpose flour
- 2 tablespoons granulated sugar
- 1 tablespoon baking powder
- ½ teaspoon salt
- 1¾ cups milk
- 2 large eggs
- ½ cup vegetable oil
- 1 teaspoon vanilla extract
- Black gel food coloring
- Optional decorations: candy eyes, chocolate syrup, sprinkles, mini spiders (not edible)
Instructions
- Mix Dry Ingredients: Whisk flour, sugar, baking powder, and salt in a bowl.
- Combine Wet Ingredients: In another bowl, whisk milk, eggs, oil, and vanilla.
- Make Batter: Pour wet into dry ingredients. Mix until smooth, without overmixing.
- Add Color: Stir in black gel food coloring until batter is dark and spooky.
- Prepare Bottle: Transfer batter into a squeeze bottle or piping bag.
- Heat Surface: Grease and preheat a griddle or skillet.
- Pipe Webs: Pipe a circle in the center, draw lines outward, and connect with curved lines to form a web.
- Cook: Cook for 2–3 minutes until firm. Flip if needed. Cool on a rack.
- Decorate: Add candy eyes, sprinkles, or syrup before serving.
Notes
- Adjust batter thickness with milk if too thick for piping.
- Use gel coloring for rich, dark webs without thinning batter.
- Keep cooked webs warm in a 200°F (90°C) oven until ready to serve.
- Refrigerate leftovers up to 3 days or freeze up to 2 months.
- Reheat by toasting or baking at 350°F for 5–7 minutes.
- Add pumpkin spice or cocoa powder for flavor variety.
- Prep Time: 10 minutes
- Cook Time: 15 minutes
- Category: Breakfast
- Method: Stovetop
- Cuisine: American
Nutrition
- Serving Size: 1 waffle

