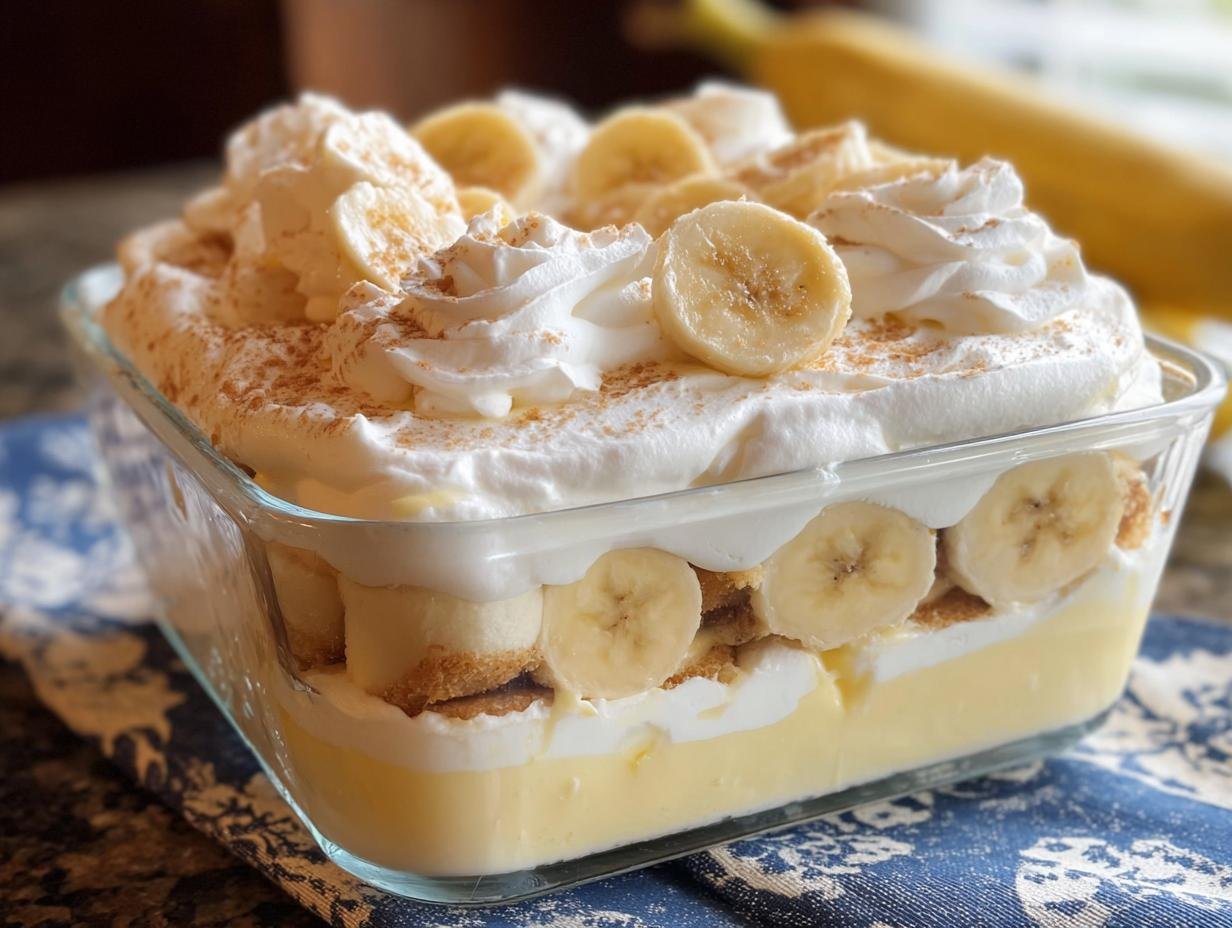
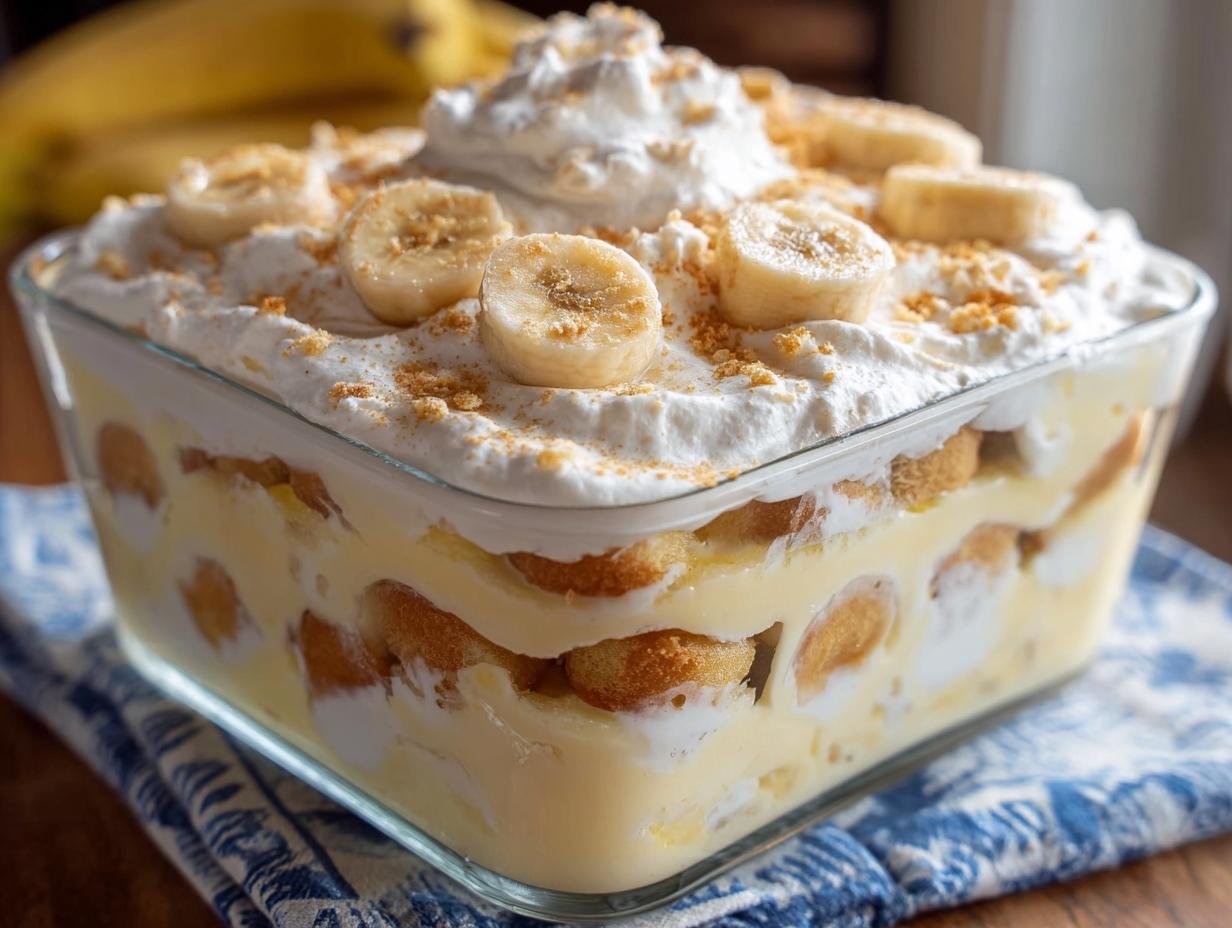
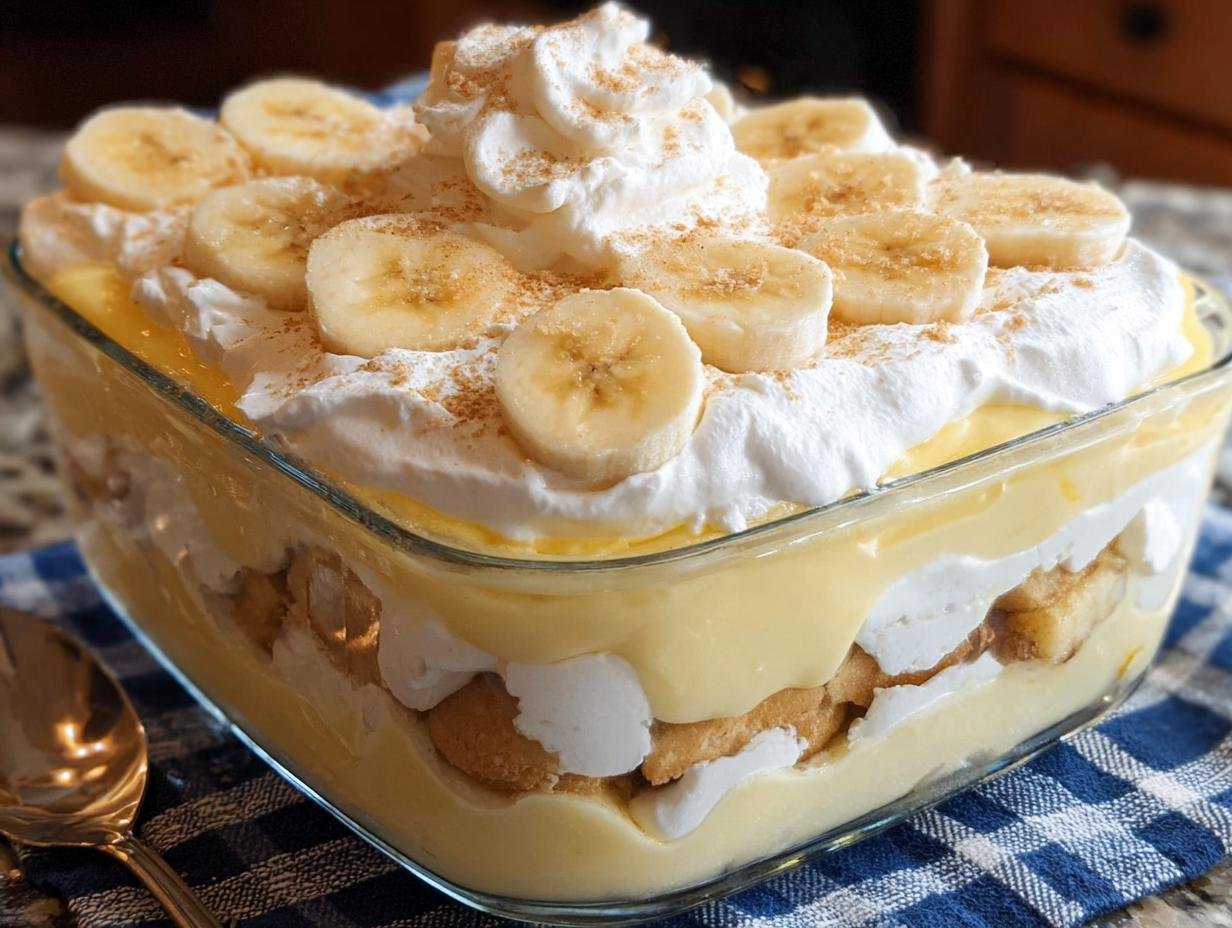
Banana pudding has always been my ultimate comfort food, bringing back memories of my grandmother’s kitchen. Her version of southern banana pudding was legendary, a perfect balance of sweet custard, soft bananas, and those delightful vanilla wafers that soak up all the flavor. I remember the smell of vanilla and ripe bananas filling the house, a truly magical aroma. This easy banana pudding recipe is my attempt to recapture that magic, and I’m so excited to share it with you. It’s simple enough for a weeknight treat but impressive enough for any gathering. Let’s get cooking!
Why You’ll Love This Banana Pudding
This recipe is a winner for so many reasons! Here’s why you’ll fall in love with this homemade treat:
- The taste is absolutely divine, a perfect blend of sweet, creamy, and fruity.
- You’ll be amazed at how quick it is to prepare; the prep time is only about 20 minutes!
- It’s surprisingly budget-friendly, using pantry staples for a decadent dessert.
- This makes a wonderfully creamy banana pudding that everyone, from toddlers to grandparents, will adore.
- It’s a fantastic family-friendly dessert that brings everyone together.
- The texture is perfectly balanced, with soft bananas and slightly softened wafers creating a delightful mouthfeel.
- You get that luscious, creamy banana pudding experience without a complicated process.
- It’s a classic dessert that never goes out of style and always impresses.
Ingredients for Classic Banana Pudding
Gathering your ingredients is the first step to making this delicious banana pudding recipe with vanilla wafers. I love how simple the ingredient list is for this classic dessert!
- 1 (14 ounce) can sweetened condensed milk – this forms the sweet, creamy base of our pudding.
- 1 1/2 cups cold water – helps to thin out the condensed milk and create the perfect pudding consistency.
- 1/3 cup cornstarch – this is our thickening agent, essential for that luscious texture.
- 1/4 teaspoon salt – just a pinch to balance the sweetness and enhance the flavors.
- 2 large eggs, beaten – they add richness and help bind everything together.
- 2 tablespoons butter – stirred in at the end for extra creaminess and a hint of richness.
- 1 teaspoon vanilla extract – the classic flavor that makes this pudding so comforting.
- 6-8 ripe bananas, sliced – make sure they are ripe but not too mushy for the best flavor and texture.
- 1 (11 ounce) box vanilla wafers – these are key for soaking up that delicious pudding!
- Whipped cream or meringue for topping (optional) – adds a lovely finish if you’re feeling fancy.
How to Make Homemade Banana Pudding
Making this classic dessert from scratch is easier than you think! The key is in building that rich, creamy pudding base first.
- Step 1: Grab a medium saucepan. Whisk together the sweetened condensed milk, 1 1/2 cups cold water, 1/3 cup cornstarch, 1/4 teaspoon salt, and your 2 large eggs, beaten. Make sure there are no lumps of cornstarch before you start cooking.
- Step 2: Place the saucepan over medium heat. Stir constantly! This part is crucial to prevent scorching and ensure a silky smooth pudding. You’ll see it start to thicken gradually. Keep stirring until it coats the back of a spoon, usually about 8-10 minutes.
- Step 3: Once thickened, remove the saucepan from the heat. Stir in the 2 tablespoons butter and 1 teaspoon vanilla extract. Keep stirring until the butter is completely melted and incorporated, making the pudding extra luscious. The aroma of vanilla is heavenly!
- Step 4: Pour about half of this warm, creamy pudding into your 9×13 inch baking dish. This is the foundation for our layers.
- Step 5: Arrange half of your sliced bananas over the pudding layer. Using ripe bananas is important for flavor in this banana pudding recipe with fresh bananas.
- Step 6: Now, add half of the vanilla wafers. They’ll start to soften as they absorb the pudding’s moisture.
- Step 7: Repeat the layers: the remaining pudding goes on top, followed by the rest of the sliced bananas and vanilla wafers. This layering ensures every bite has that perfect mix of pudding, fruit, and wafer. This is what makes a great banana pudding recipe with fresh bananas.
- Step 8: Cover the dish tightly with plastic wrap, pressing it gently onto the surface to prevent a skin from forming. Chill in the refrigerator for at least 4 hours, but overnight is even better. This allows the flavors to meld beautifully and the wafers to soften perfectly.

Pro Tips for the Best Banana Pudding
Want to elevate your homemade dessert game? These tips will ensure your banana pudding is absolutely perfect every single time!
- Use ripe, but not overripe, bananas. Slightly firm bananas hold their shape better and prevent a mushy texture.
- Don’t overcook the pudding mixture; it should thicken just enough to coat the back of a spoon. It will continue to thicken as it cools.
- Press the plastic wrap directly onto the surface of the pudding before chilling. This prevents that unappealing skin from forming.
- For an extra decadent touch, consider making your own vanilla wafers or using a mix of wafers and shortbread cookies.
What’s the secret to perfect creamy banana pudding?
The magic lies in the pudding base! Whisking the cornstarch and cold water thoroughly before heating ensures a silky smooth texture. This is a great tip for any banana pudding recipe for beginners. For more insights on thickening agents, you can explore how different ingredients affect texture.
Can I make no bake banana pudding ahead of time?
Absolutely! This dessert is actually better when made ahead. Chilling it for at least 4 hours, or preferably overnight, allows the wafers to soften and the flavors to meld beautifully. This is similar to how overnight oats benefit from resting.
How do I avoid common mistakes with old fashioned banana pudding?
A common pitfall is using underripe bananas. Also, avoid overmixing the pudding once it’s cooked, as this can make it gummy. Ensure you chill it adequately for those perfectly softened wafers! Understanding ingredient ratios is key, much like in a multigrain bread recipe.
Best Ways to Serve Southern Banana Pudding
Serving this classic dessert is all about presentation and complementary flavors. A slice of this rich, creamy delight is wonderful on its own, or you can take it up a notch with a dollop of homemade whipped cream or a fluffy meringue topping. If you’re leaning towards the latter, consider this a perfect pairing for our banana pudding recipe with meringue topping. For a more complete dessert experience, I love serving it alongside a light, fresh fruit salad or a simple scoop of vanilla bean ice cream to contrast the creamy sweetness. It’s a truly comforting and satisfying end to any meal!

Nutrition Facts for Banana Pudding
Here’s a look at the estimated nutritional breakdown per serving for this delightful dessert. It’s a classic treat that satisfies a sweet craving!
- Calories: 350
- Fat: 15g
- Saturated Fat: 8g
- Protein: 5g
- Carbohydrates: 55g
- Fiber: 3g
- Sugar: 45g
- Sodium: 200mg
Nutritional values are estimates and may vary based on specific ingredients used. For more information on dietary fiber, you can check out resources on how much fiber is too much.
How to Store and Reheat Banana Pudding
Proper storage is key to enjoying this delightful dessert, especially when you’ve gone to the effort of how to make banana pudding from scratch. Once it has cooled completely, transfer any leftovers to an airtight container. You can store it in the refrigerator for up to 3 to 4 days. The vanilla wafers will continue to soften, which is part of the charm! While freezing isn’t ideal for the texture of the pudding and bananas, if you must, you can freeze it for up to 3 months, well-wrapped. For reheating, allow it to thaw in the refrigerator overnight and serve chilled or gently warmed. A brief stint in the microwave on low power can warm it slightly, but be cautious not to overheat it, as this can affect the pudding’s consistency.
Frequently Asked Questions About Banana Pudding
What makes this banana pudding recipe so easy?
This easy banana pudding recipe is a breeze because it uses simple, readily available ingredients and doesn’t require any complicated techniques. The pudding base cooks up quickly on the stovetop, and the layering is straightforward, making it perfect for beginners.
Can I use store-bought pudding mix instead of making it from scratch?
While this recipe is designed for homemade pudding for the best flavor and texture, you *could* use instant vanilla pudding mix if you’re in a real pinch. Just follow the package directions for the pudding and then layer it with the bananas and wafers. However, the homemade version truly offers a superior, rich taste! For other quick dessert ideas, consider a Costco twice-baked pie trick.
How do I prevent my bananas from getting brown and mushy in the pudding?
The key is to slice your bananas just before you assemble the layers. The acid in the pudding and the chilling process help slow down browning. Also, try to use bananas that are ripe but still firm, rather than overly soft ones, for the best texture. This helps maintain the integrity of the fruit within the dessert.
Is this recipe suitable for a crowd?
Absolutely! This recipe makes a generous banana pudding and is a huge hit at potlucks, family gatherings, and parties. Its classic appeal means everyone loves it, and it’s easy to scale up if you need an even larger quantity.
Variations of Banana Pudding You Can Try
While this classic version is incredible, there are so many fun ways to switch up your dessert game! If you’re looking for a lighter touch, consider a banana pudding recipe with Cool Whip for an easier, airier texture. You could also try a baked version, where the top gets a lovely golden crust, or even individual servings in ramekins for a more elegant presentation. For a dairy-free twist, experiment with coconut milk and a dairy-free pudding base. Each variation offers a unique spin on this beloved dessert!
Print
Perfect Banana Pudding: 3 Easy Steps
- Total Time: 4 hours 30 minutes
- Yield: 8-10 servings 1x
- Diet: Vegetarian
Description
A classic Southern banana pudding recipe featuring layers of creamy vanilla pudding, ripe bananas, and vanilla wafers. This easy, homemade dessert is perfect for any occasion.
Ingredients
- 1 (14 ounce) can sweetened condensed milk
- 1 1/2 cups cold water
- 1/3 cup cornstarch
- 1/4 teaspoon salt
- 2 large eggs, beaten
- 2 tablespoons butter
- 1 teaspoon vanilla extract
- 6–8 ripe bananas, sliced
- 1 (11 ounce) box vanilla wafers
- Whipped cream or meringue for topping (optional)
Instructions
- In a medium saucepan, whisk together sweetened condensed milk, water, cornstarch, salt, and beaten eggs.
- Cook over medium heat, stirring constantly, until thickened.
- Remove from heat and stir in butter and vanilla extract until butter is melted.
- Pour half of the pudding into a 9×13 inch baking dish.
- Arrange half of the sliced bananas over the pudding.
- Layer half of the vanilla wafers over the bananas.
- Repeat layers with remaining pudding, bananas, and wafers.
- Cover and chill for at least 4 hours, or preferably overnight, to allow flavors to meld.
- Top with whipped cream or meringue before serving, if desired.
Notes
- For a richer flavor, use whole milk instead of water.
- Ensure bananas are ripe but not overly mushy for the best texture.
- Chill time is crucial for the wafers to soften and absorb the pudding.
- Prep Time: 20 minutes
- Cook Time: 10 minutes
- Category: Dessert
- Method: No-Bake (with optional bake for meringue)
- Cuisine: Southern
Nutrition
- Serving Size: 1 serving (approx. 1/8th of recipe)
- Calories: 350
- Sugar: 45g
- Sodium: 200mg
- Fat: 15g
- Saturated Fat: 8g
- Unsaturated Fat: 7g
- Trans Fat: 0g
- Carbohydrates: 55g
- Fiber: 3g
- Protein: 5g
- Cholesterol: 50mg

