
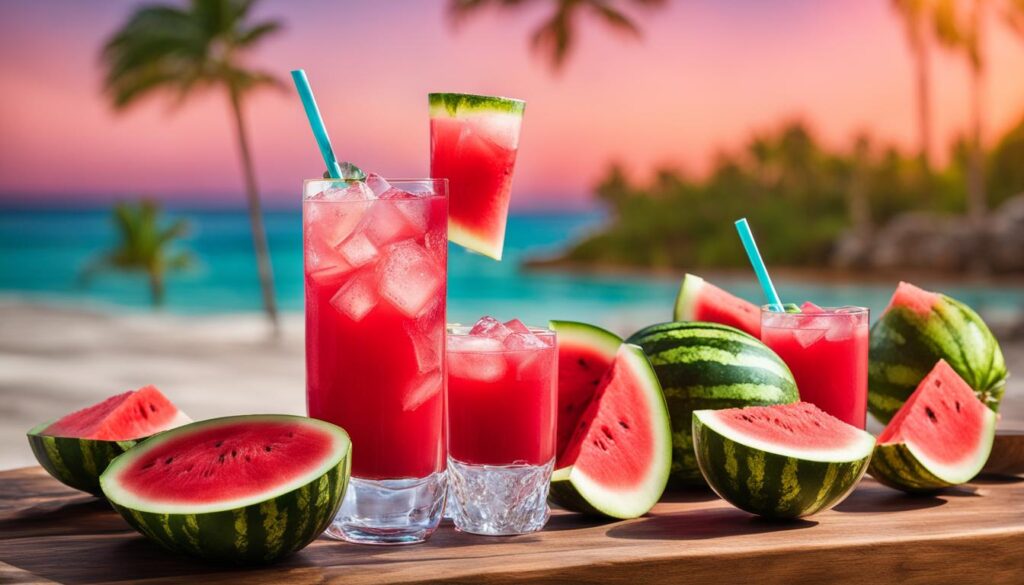
Watermelon Cocktail
Watermelon Cocktail: Your Ultimate Summer Drink Guide Sip on summer with a refreshing Watermelon Cocktail, the ultimate fruity concoction for […]
Watermelon Cocktail: Your Ultimate Summer Drink Guide Sip on summer with a refreshing Watermelon Cocktail, the ultimate fruity concoction for […]
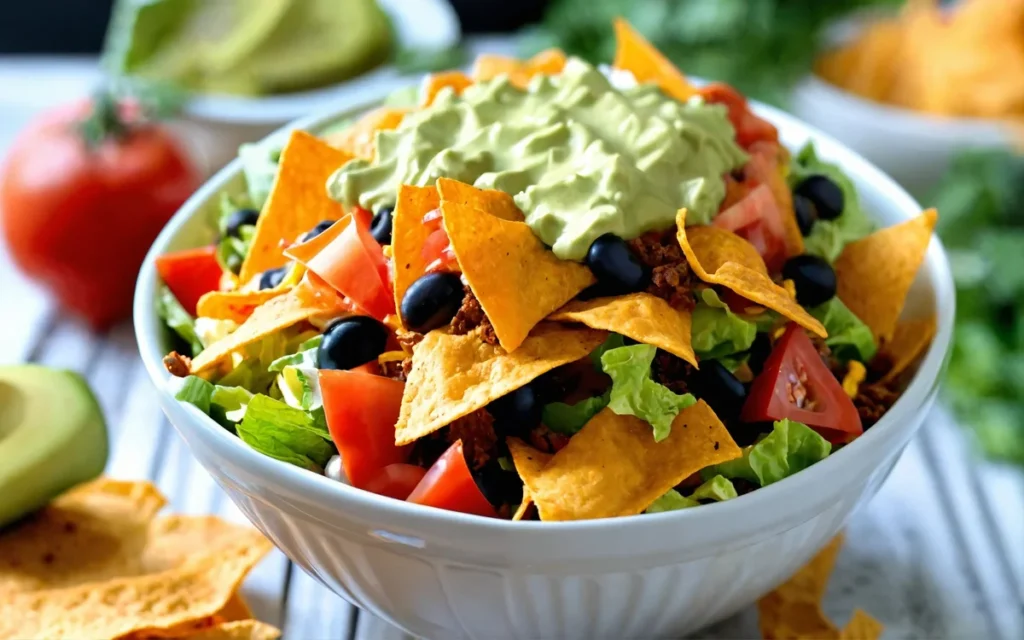
The Ultimate Dorito Taco Salad: A Crunchy Delight Introduction In the world of casual dining and potluck dinners, few dishes
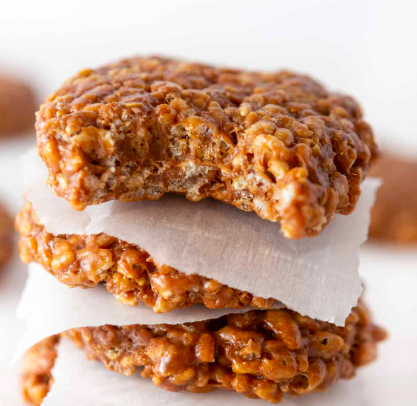
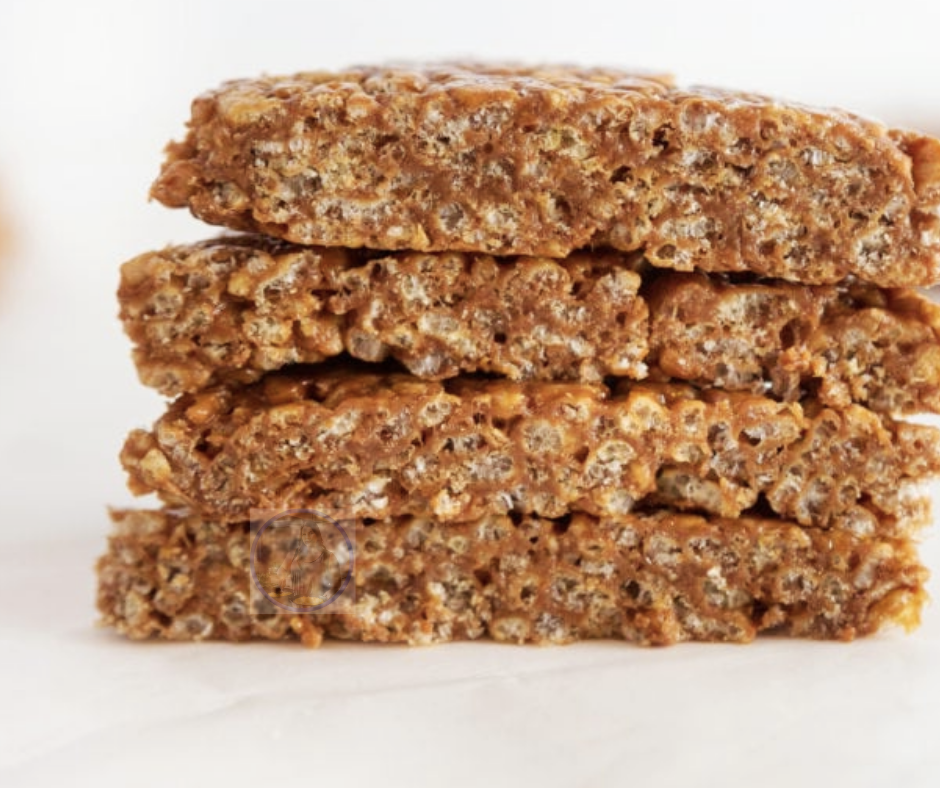
Outline Introduction to No-Bake Homemade Star Crunch Understanding the Ingredients Steps to Prepare No-Bake Homemade Star Crunch Preparing Baking Sheets
Outline Introduction to Chicken Lettuce Wraps The Origin of Chicken Lettuce Wraps Ingredients Required for Chicken Lettuce Wraps Meat Vegetables
Outline of the Article Introduction to Banana Bread Why Rich Banana Bread? Ingredients You’ll Need Flour and Leavening Agents Ripe