Watermelon Cocktail
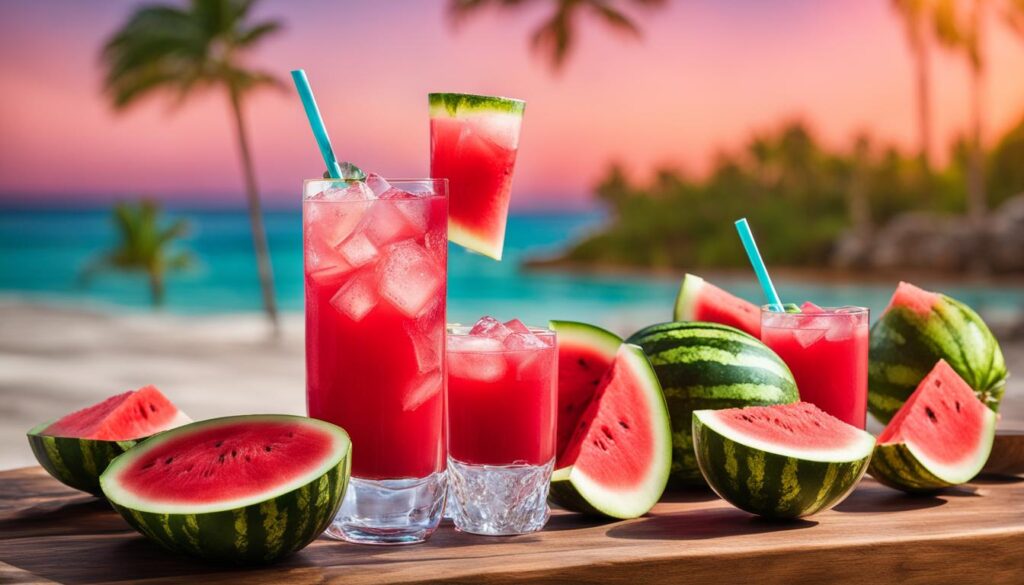
Watermelon Cocktail: Your Ultimate Summer Drink Guide Sip on summer with a refreshing Watermelon Cocktail, the ultimate fruity concoction for hot days. This comprehensive guide will provide you with everything …

Watermelon Cocktail: Your Ultimate Summer Drink Guide Sip on summer with a refreshing Watermelon Cocktail, the ultimate fruity concoction for hot days. This comprehensive guide will provide you with everything …
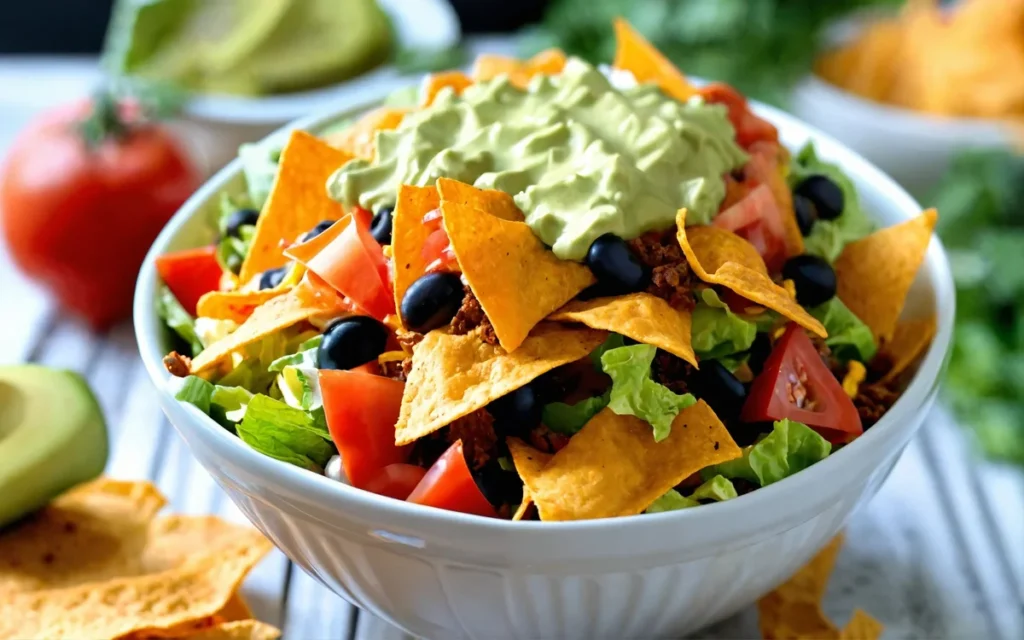
The Ultimate Dorito Taco Salad: A Crunchy Delight Introduction In the world of casual dining and potluck dinners, few dishes offer the crowd-pleasing appeal of a Dorito Taco Salad. This …
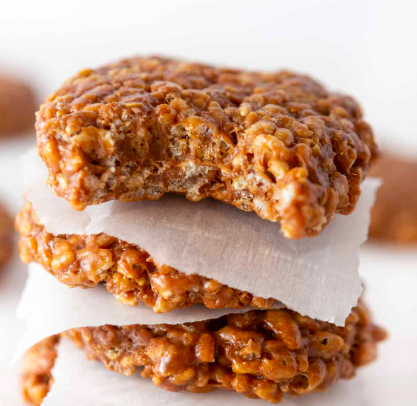
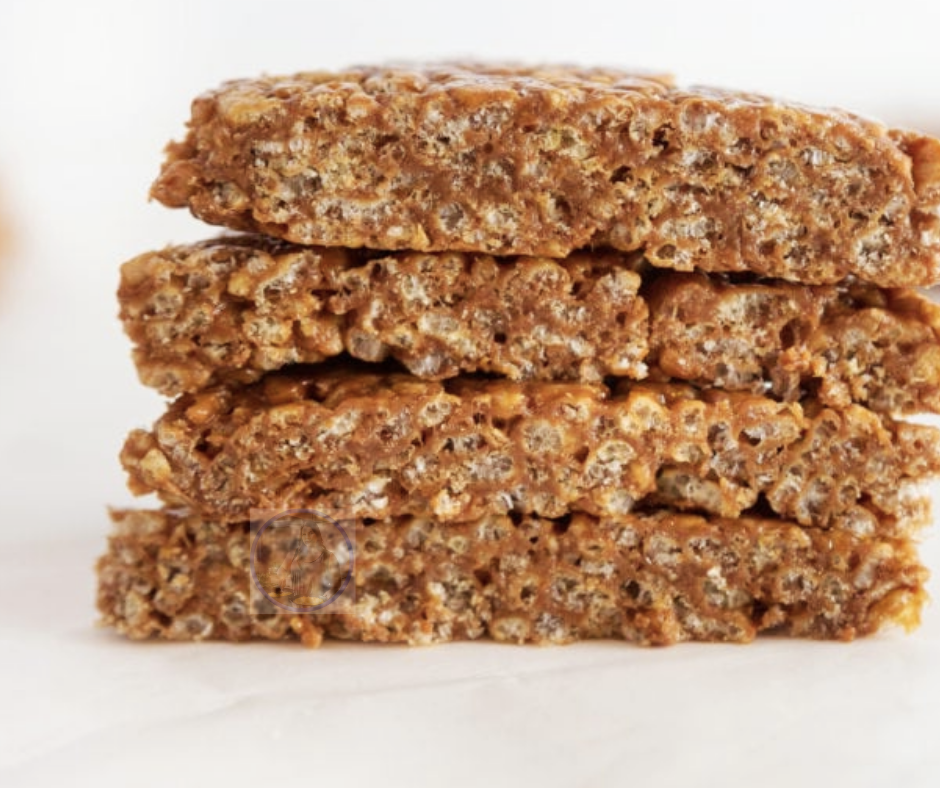
Outline Introduction to No-Bake Homemade Star Crunch Understanding the Ingredients Steps to Prepare No-Bake Homemade Star Crunch Preparing Baking Sheets Combining Crispy Rice Cereal Preparing Peanut Butter Mixture Shaping Star …
Outline Introduction to Chicken Lettuce Wraps The Origin of Chicken Lettuce Wraps Ingredients Required for Chicken Lettuce Wraps Meat Vegetables Sauce Preparation Steps Preparing the Chicken Chopping the Vegetables Making …
Outline of the Article Introduction to Banana Bread Why Rich Banana Bread? Ingredients You’ll Need Flour and Leavening Agents Ripe Bananas Sweeteners and Enhancers Step-by-Step Instructions Mixing Dry Ingredients Mashing …